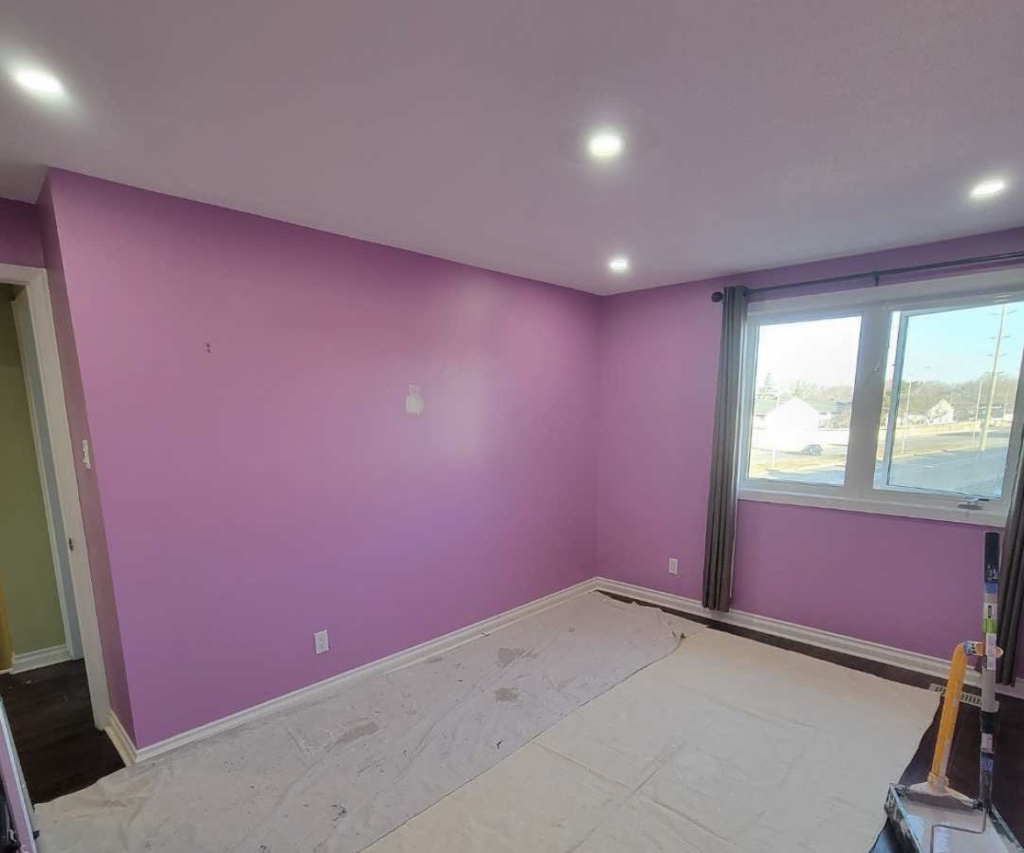
How to Paint in One Day – Tips and Tricks for a Quick Makeover
Do you want a quick, easy way to completely transform the look of your room, without spending an entire weekend on it? Look no further than paint in one day! Painting can be daunting due to all of the prep work and details that go into it, but with some diligent preparation and careful following of tips and tricks from experienced painters like us, you can drastically change the look of any space in a coat or two. In this post, we are going to discuss the process of painting a room in just one single day so you can have your new update finished quickly without having to sacrifice quality. Read on to find out how!
Gather the materials you need ahead of time, including paint, brushes, rollers, tape, and drop cloths
Before beginning any painting project, it’s important to gather all necessary materials ahead of time to ensure a smooth and efficient process. As a professional, I recommend having all your supplies easily accessible and organized before starting any task. This can save you time and prevent the frustration of having to stop mid-project to search for missing items. Making sure you have enough paint, brushes, rollers, tape, and drop cloths will not only streamline the process but also result in a more polished finished product.
Prepare the room by taking down pictures and curtains and cleaning up any dust or dirt
As a professional, it’s important to prepare the room before painting. This can often mean taking down pictures and curtains, as well as giving the space a thorough cleaning to eliminate any dust or dirt. By doing so, you are not only creating a fresh canvas for your work, but you’re also ensuring that your clients or guests feel comfortable and at ease in the space. So take the time to prepare your room before diving into your next venture – it will be well worth the effort in the end.

Residential Paint in One Day
Prime the walls with a quick-drying primer to make sure your paint sticks to the surface
If you’re repainting your walls, it’s essential to use a good quality primer to ensure your new coat of paint sticks to the surface. A quick-drying primer is ideal for this task, as it allows you to start painting in less time than traditional primers. Applying primer is a crucial step in the painting process, as it helps to protect the surface from stains, enhances the paint’s adhesion, and creates an even base for the color. While it may seem like an unnecessary step, proper priming prevents peeling, cracking, and chipping, making your paint job last longer. So, don’t skimp on the primer if you want a flawless, long-lasting finish!
Measure out your paint in small amounts so you don’t have to keep going back to the store for more
If you’re planning a painting project, it’s essential to measure out your paint in small amounts to prevent frequent trips back to the store for more paint. Not only will measuring your paint save you time and money, but it will also ensure that you have a consistent color and texture throughout your project. Fortunately, measuring paint is a straightforward process that doesn’t require any specialized equipment or expertise. With just a measuring cup or tablespoon and a little patience, you can have the perfect amount of paint every time. So take the time to measure out your paint, and enjoy your painting project without any unnecessary interruptions!
Work smarter not harder by using a roller instead of a brush for larger areas
To make your painting projects more efficient, consider using a roller for larger areas instead of a brush. Not only will you save time, but you will also achieve a smoother finish with less effort. With a roller, you can cover more surface area in less time and avoid the fatigue that can come with using a brush for extended periods. Plus, you’ll use less paint overall, saving you money on materials.
Painting a room in one day is totally achievable! With these essential tips and advanced preparation, completing a quick paint job can be done without too much stress. Just make sure to always wear protective clothing, use primer and tape to create neat edges, and utilize a roller when possible. Get creative with it by choosing bold, daring colors or trying something new like sponging or glazing techniques. And most importantly – don’t forget to keep the windows open for ventilation; it’s better for you and your project’s longevity!

Interior Painting Services
https://www.google.com/maps?cid=18129391322920407650
